How to cut heat transfer vinyl with silhouette cameo 3
You’ve already bought a Silhouette Cameo 3, or maybe that you’re thinking of getting one to start a lucrative business or a hobby?
The reasons of why you’re reading this might differ, but we can all agree on one thing: Knowing how to cut a heat transfer vinyl with Silhouette Cameo 3 can become handy if you are considering to purchase this vinyl cutting machine or if you already got one.
That’s why in this article, we will discover together the process of cutting a heat transfer vinyl with the Silhouette Cameo 3. After reading what I have to offer, you will certainly have all the required background to realize a safe, fun, and most of all, successful cutting with this machine. If you’re interested keep scrolling!
Contents
What is included with the silhouette cameo 3
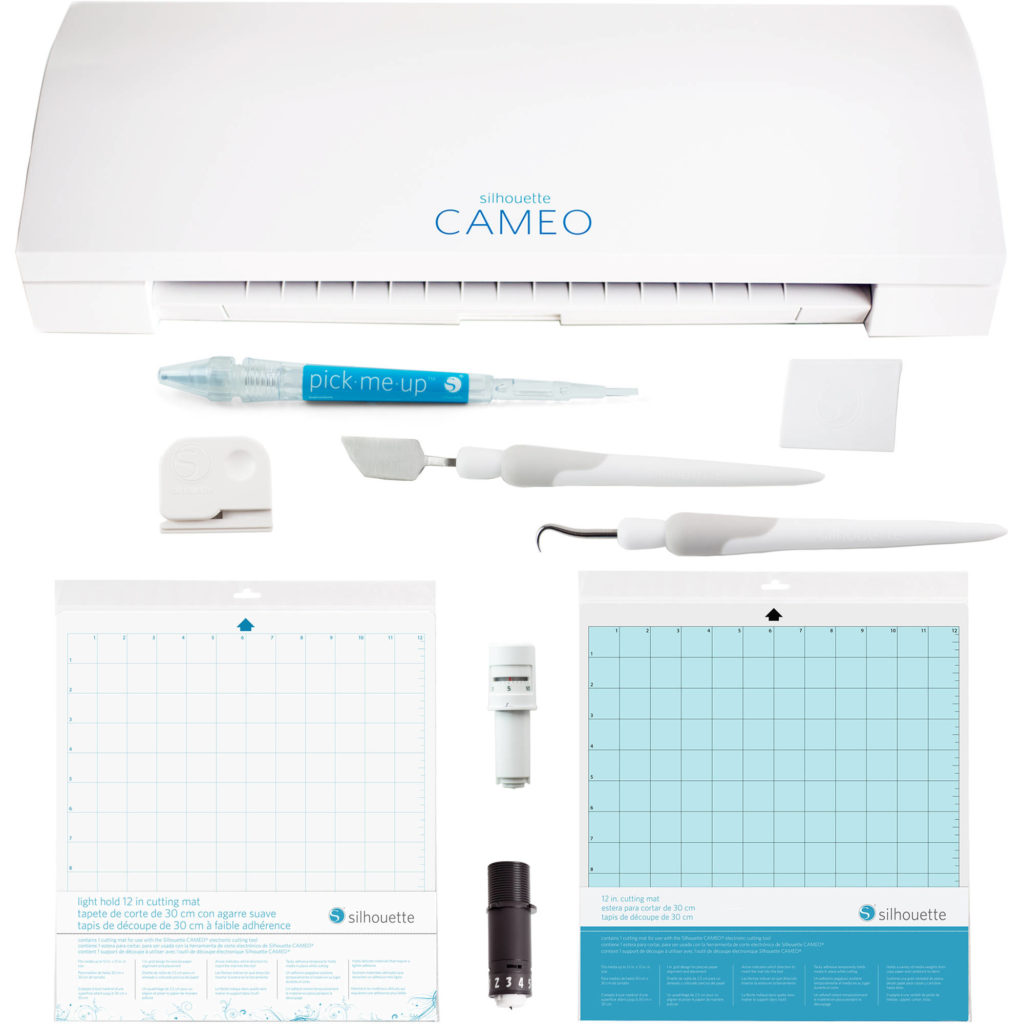
Let’s start first by highlighting the accessories that you will have access to when you buy your Silhouette Cameo 3. I don’t want you to miss anything important.
If you notice something missing, don’t wait too long and contact the Silhouette support team. If you want a quicker result, feel free to contact the store or website in which you made your purchase.
- Silhouette CAMEO 3 Wireless Cutting Machine
- Silhouette Studio Software
- Power cable and USB cable
- 12×12 inch cutting mat
- AutoBlade – Silhouette’s new auto-adjusting blade
- One month basic subscription to the Silhouette Design Store
- Vinyl
Crosscutter - 100 digital designs to begin creating right out of the box
- Blade Adjustment tool
- User manual
First step: Connecting your Silhouette Cameo 3 to your computer
If you want to realize a cutting with your vinyl cutting machine, and you want to utilize a design that you made with your computer, or more accurately, a design that you made with the Silhouette Studio Software, then it seems right and natural that you will have to make the right connections between the two devices right?
This is the most basic and easiest step to take, so let’s be done with it quickly:
1- First, plug in the Silhouette Cameo 3 and turn it on
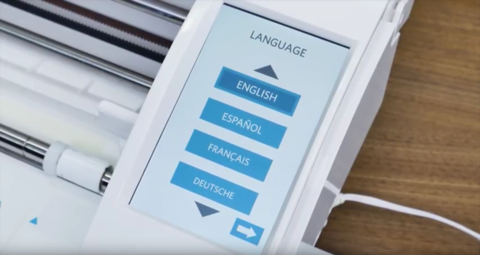
2- Now, you need to set your machine to your desired language using its touch screen
3- If you want it to keep it simple, just plug the USB cord to your computer and to your Silhouette Cameo 3. Now you have made a connection between the monitor, and your vinyl cutting machine. If you are interested to learn how to do a Bluetooth connection, keep reading
4- Using the touch screen of your Silhouette Cameo 3, select the gear icon on the top right side of the screen
5- A menu will appear on your screen. Now click on the bottom arrow to see all the options that the menu has to offer
6- When you see the Bluetooth choice, click on it. After that, an “Enable/Disable Bluetooth” should appear. Select the “on” option
7- Now, depending on what operating system you’re using, activate the Bluetooth on your computer, and you will normally see the Silhouette Cameo 3 as a potential Bluetooth partner. Now just make the right connection and you should be all set.
If you don’t know how to use bluetooth on mac, take a look at this tutorial:
8- We are not done yet. Now, you need to acquire at least the Silhouette Studio Version 3.8.0700 or above. If you have an older version, then download the latest one available on this link!
9- Install the Silhouette Studio on your computer
Here is a short tutorial on how to enable your Bluetooth on your Silhouette Cameo 3 and how to cut using this technology:
What you will need for your first heat transfer vinyl cut with the Silhouette Cameo 3
Now, it’s time for us to get serious. After connecting your vinyl cutter with your monitor, our famous question arises again: How to cut heat transfer vinyl with silhouette cameo 3?
Let’s first take a look at all the tools you will need to achieve this operation:
- Heat transfer vinyl: If you don’t own heat transfer vinyl, take a look at these ones; they are pretty neat and popular
- T-Shirt or other fabric on which you will transfer your designs
- Hot Iron or heat press. If you don’t own a heat press machine, take a look at my article that will take you through the best heat press machines destined to beginners
- Teflon Sheet to avoid stickiness of your fabrics to your heat press or iron
- Vinyl weeding tool to separate your designs from the unwanted parts of your vinyl sheets.
- Silhouette cutting mat: This one is provided with your vinyl cutting machine, but if you have a damaged one and you are considering purchasing a new mat, then take a look at this link
Setting your first design
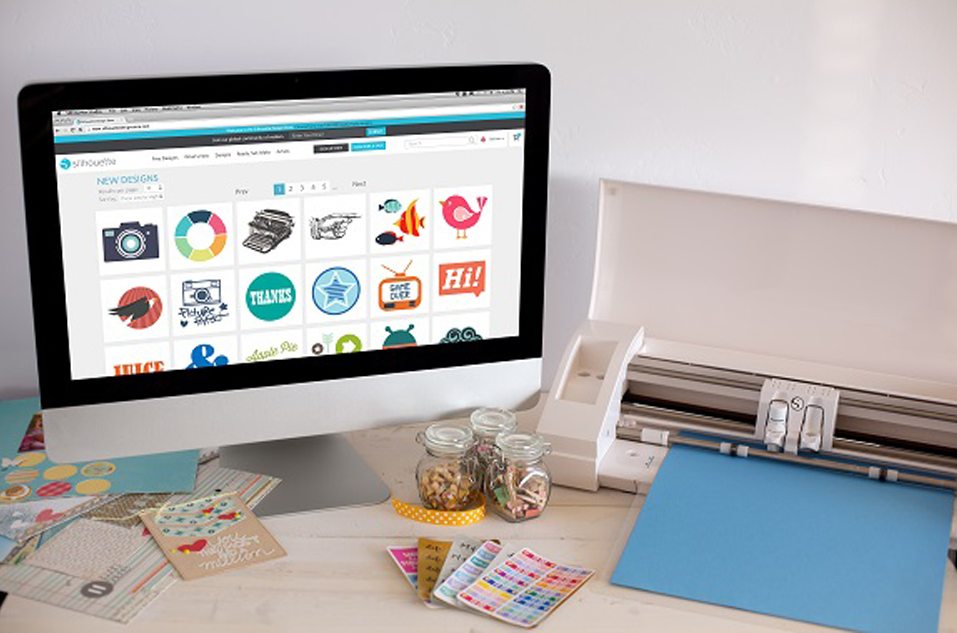
If you don’t have a good design idea in mind, you can take a look at this free to download SVG site that offers many different designs in many themes.
If you want to check more advanced designs, the Silhouette cloud has over 100,000 creations you can select from. However, these aren’t free to use, but most of them cost under 0.99 $. If you purchase one design, you will have access to it forever.
Quick tip to take into account: For your first creation, i recommend you to select a simple design, so that you get the idea of how using this machine looks like.
After you’ve understood the whole concept, you can move on to more complex shapes.
Now, follow the step enlisted below to understand how to cut heat transfer vinyl with silhouette cameo 3:
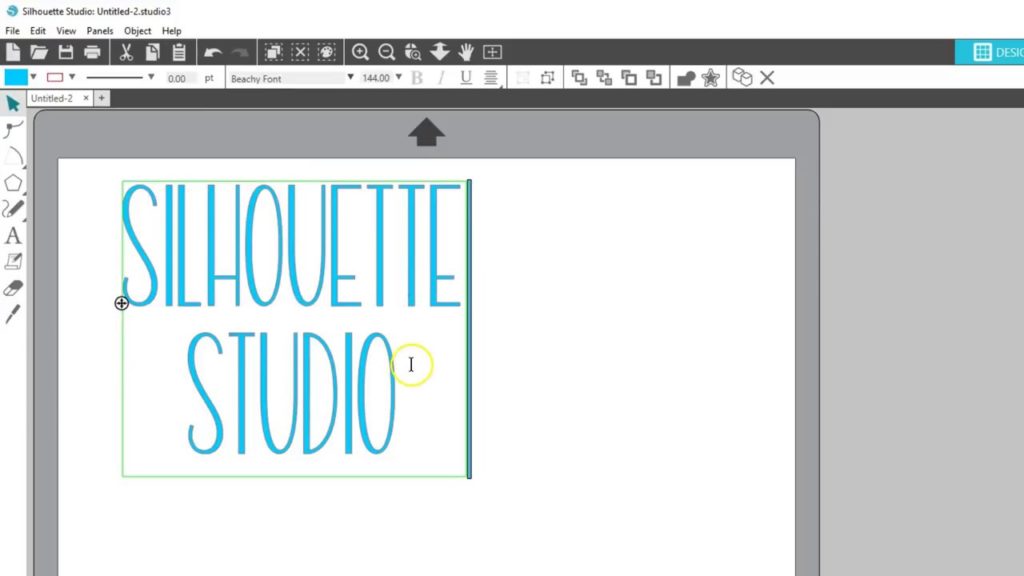
1- Load your design in Silhouette Studio
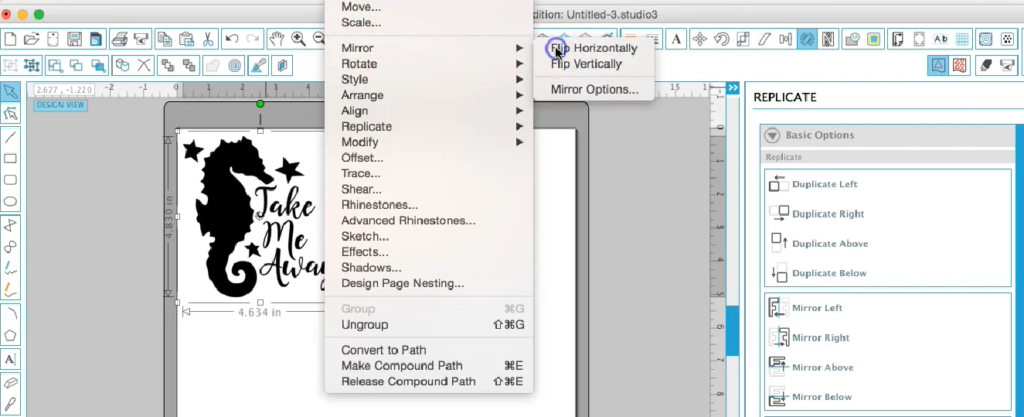
2- Now, you have to flip your design so that you can obtain a mirrored version. This is required because when you will use your heat press machine on your fabric, the design will be flipped once again, and you will obtain exactly the shape you’ve hoped for: Select Object -> Mirror -> Flip Horizontally.
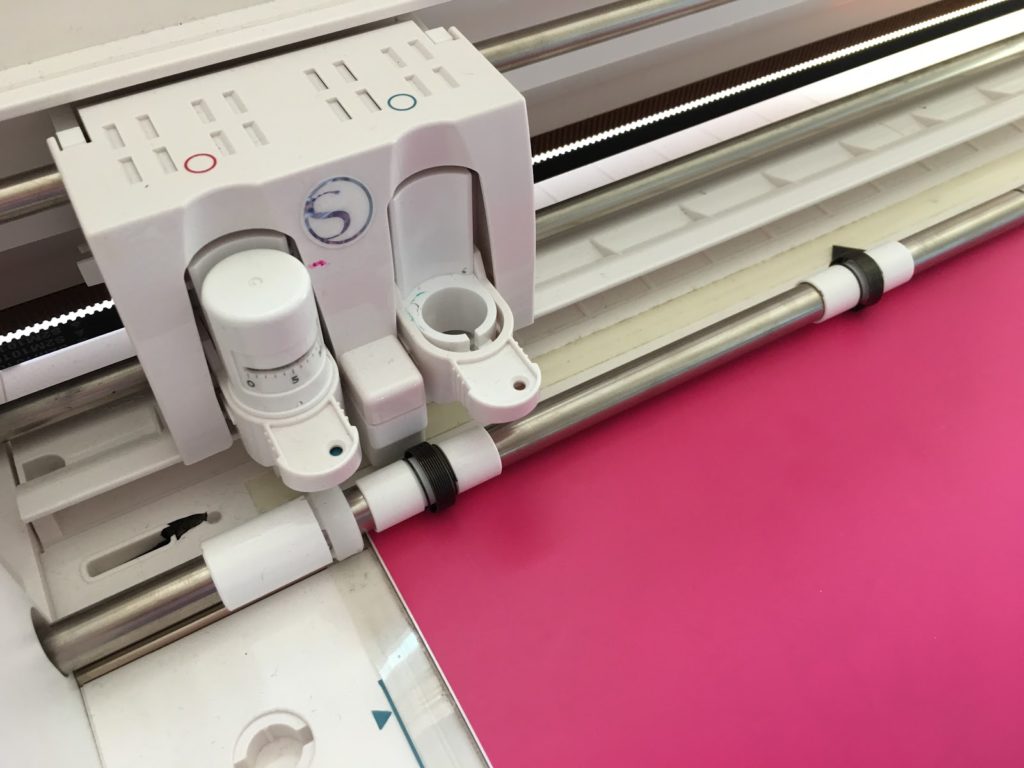
3- Place your heat transfer vinyl on your cutting mat with the shiny plastic backing faced down
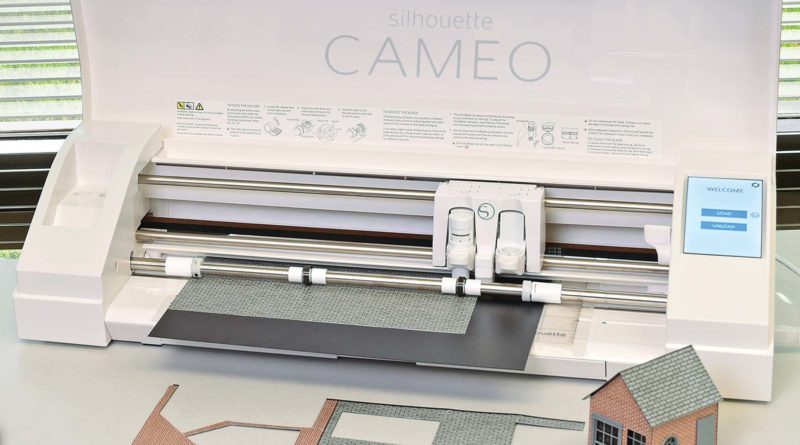
4- Now insert the mat into the machine. It should be perfectly lined up with the mat guides. Keep pressing the mat against the machine’s rollers while you’re pushing the “load/unload” choice on the touch screen.
5- Click “Send” in the Silhouette Studio and enjoy watching your machine doing some neat job
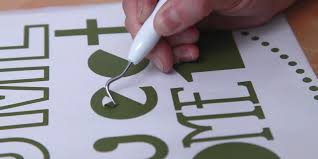
6- Now, the weeding process: use a little picker and start by peeling your sheet from its corner.
7- Finally, to transfer your vinyl into your design, check out this article that will give you detailed information on this process. Keep in mind that we used a transfer paper for this case, but it’s pretty similar to heat transfer vinyl sheets.
Here is a detailed tutorial on how to adjust your designs with the Silhouette Studio, concluded with a cutting act using the Silhouette Cameo 3:
Buying the Silhouette Cameo 3
You did not already make a purchase of the Silhouette Cameo 3 and you are interested to see the prices? take a look at this link then:
>>>Check the price of the Silhouette Cameo3<<<
Conclusion
You are now officially a master on how to cut heat transfer vinyl with Si
However, what really makes the difference between a beginner and a professional user of the Silhouette Cameo 3 is the deep knowledge of the Silhouette Studio. Check these videos if you want to enlarge your expertise on the subject.
If you are hesitating about picking up or not the Silhouette Cameo 3, then take a look at this article. You will see in it what this machine has to offer in details. Also, you will understand the differences that exist between it and the Silhouette Cameo 2, and also between it and the Cricut explore air 2.
Finally, if you want to take a look at a different but well-reputed brand, then check this review on the Brother Scan and cut dx SDX 125, or this one on the Brother CM350